
We know all too well that using ceramics over time will involve some of them becoming chipped or broken. Instead of throwing them away there is a Japanese practice which highlights and enhances the breaks creating a beautiful piece of art.
It’s called Kintsugi , or Kintsukuroi , literally golden (“kin”) and repair (“tsugi”).
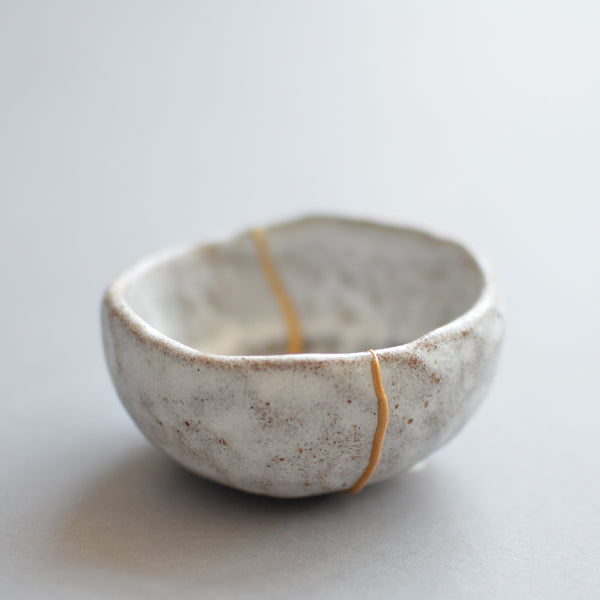
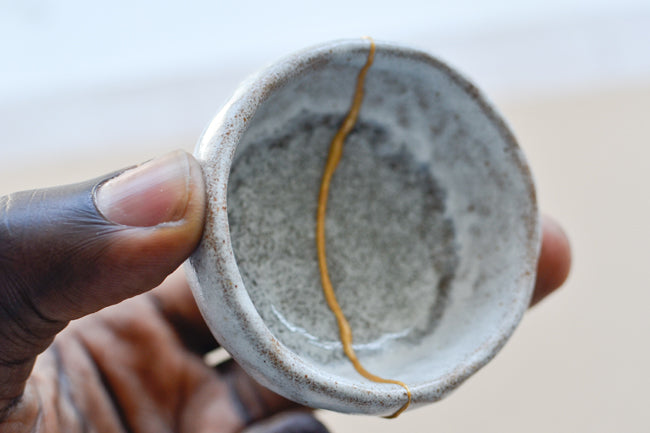
Kintsugi is the process of repairing ceramics traditionally with lacquer and gold, leaving a gold seam where the cracks were.
The technique consists in joining fragments and giving them a new, more refined aspect. Every repaired piece is unique, because of the randomness with which ceramics shatters and the irregular patterns formed that are enhanced with the use of metals.
Every repaired piece is unique, the “scars” become part of the design creating a unique piece of art.
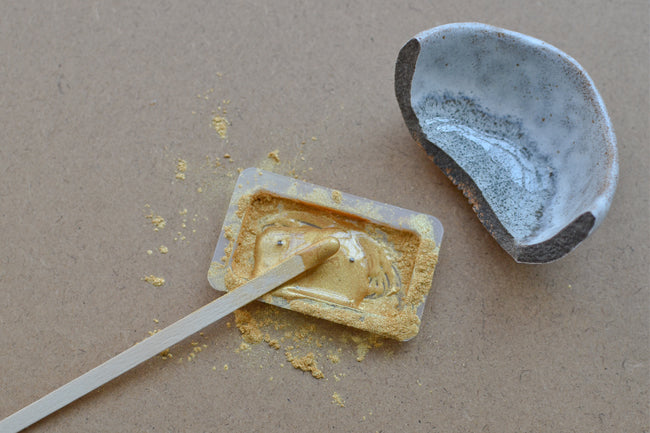
We are going to use a slightly different approaching from the traditional technique and instead of gold we will use gold mika powder which gives similar visual results. You can also buy a Kintsugi repair kit, but be sure to check the one you use is food-safe, if you intend to use the repaired item with food.
Remember that this process takes practice, your first few attempts might not be something to brag about but with time your skills will be formidable.
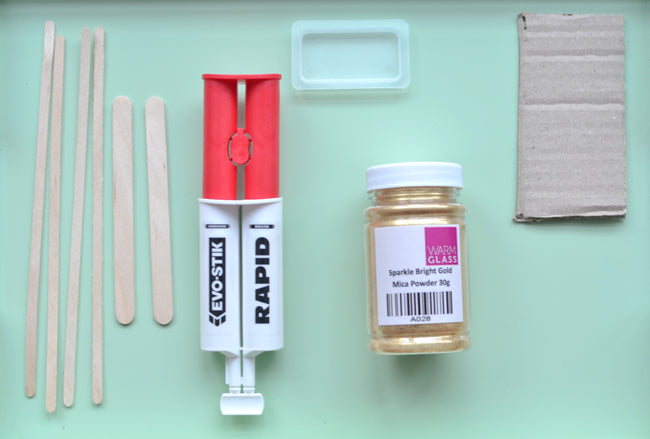
What will you need
Broken ceramic object
Epoxy two part adhesive
Lollypop sticks
Plastic work surface
Gold mika powder
Make sure the broken pieces of ceramic are clean and dry. Put the pieces together loosely so you are aware each piece belongs. This approach works better with one clean break but can also with a small about of pieces (say 2-4).
To attach the pieces together: Mix the two part epoxy adhesive together using the stick and then add a little of the gold mika power. The mix will harden quickly, so once the powder is sufficiently mixed with the epoxy, spread some to one edge of a piece.
If the edge is pretty long then you will have to work quickly as the epoxy will begin to set. You will want to be somewhat generous as when you attach the other piece, some of the epoxy will spill out of the join/seam. You want enough epoxy so that the crack is covered but not so much that it drips out. You should work one or two pieces at a time. This can be a long process so patience is key.
Hold the pieces together until the epoxy hardens, this can take a few minutes. Don't touch the seam as even though it seems dry it can be tacky and you will end up smudging it or leaving prints.
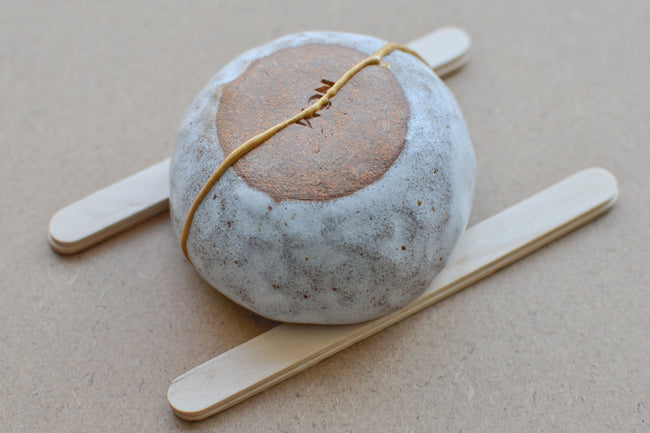
Then when all the pieces have been joined together leave for a few hours (depending on the epoxy instructions) to completely set.
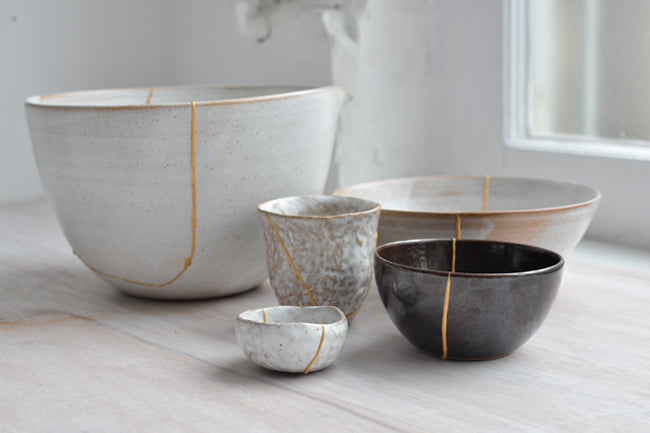
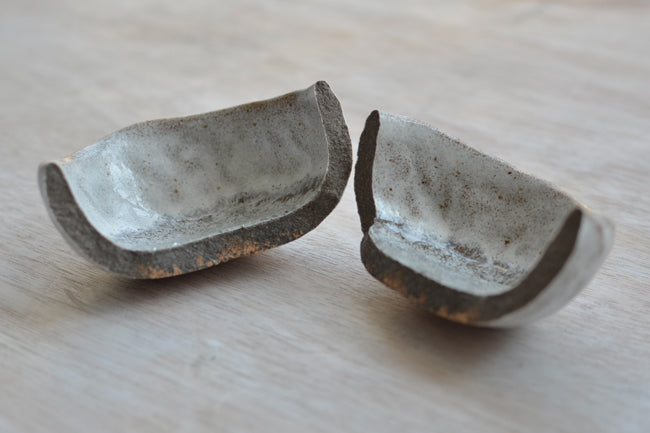
Here are a first few attempts.
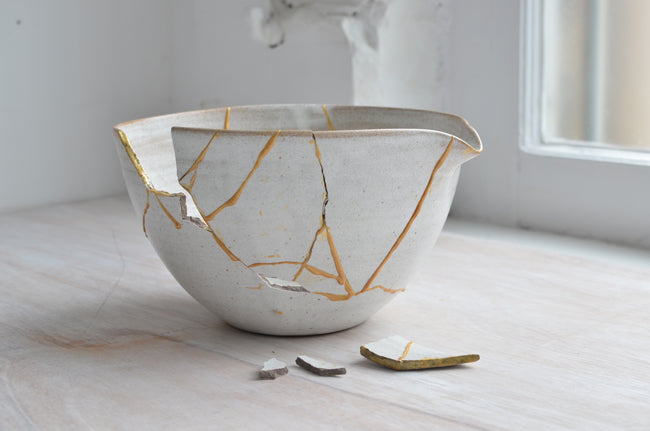
This one didn't work out so well, mainly because it was in too many pieces and I wasn't experienced enough. I spent a couple of weeks on and off before I decided to throw in the towel.
The process can take longer than expected but the collective results far outweighed the odd failures.

0 comments