

Summer is definitely long gone and the nights are getting longer. The clocks have gone forward. Before our Christmas festivities there is the small case of Halloween to get through.
In the UK it has been gaining momentum, but in North America and Canada this event is a huge deal.
So whilst in Toronto I thought I should give a short post on how carve a Pumpkin.
Items Needed
Pumpkin
Newspaper
Large Metal Serving Spoon
Bowl
Sieve
Knife with serrated teeth
Chalk or a Permanent Marker
Torch or Flashlight
Tealights
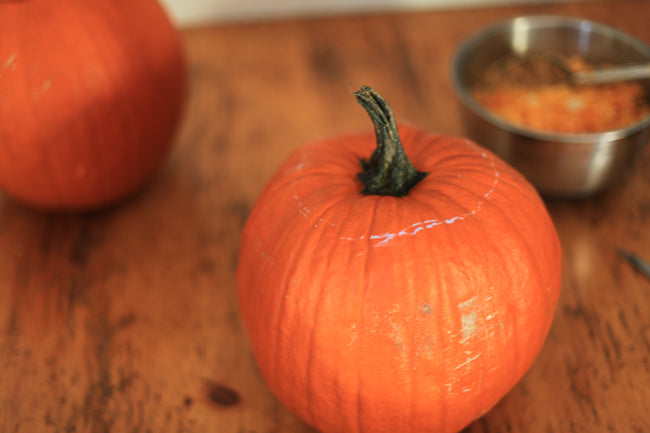
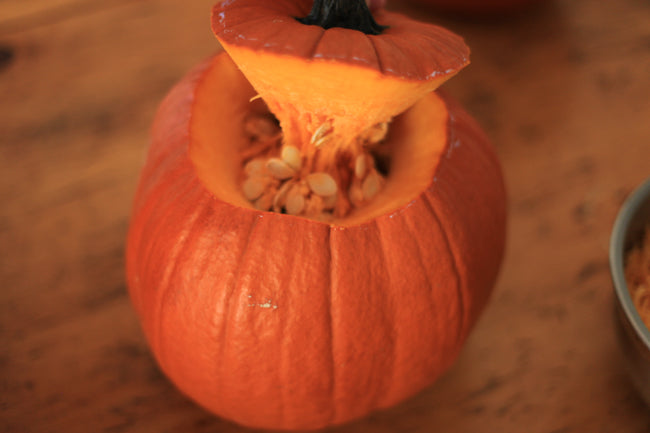
If you have newspaper lay it out so you can easily collect all the mess that this will possibly cause. Use the chalk or the marker to draw a circle on the top of the Pumpkin from where you will scoop out the inside.
From here you can collect and separate the seeds
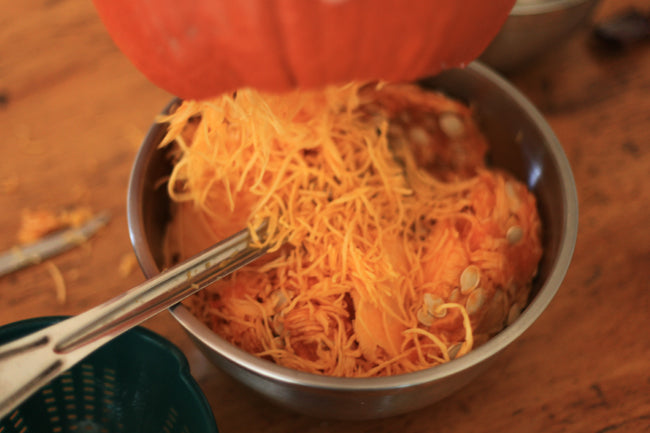
Using the metal spoon scoop out all of the inside of the Pumpkin until the inside is no longer stringy but smooth.
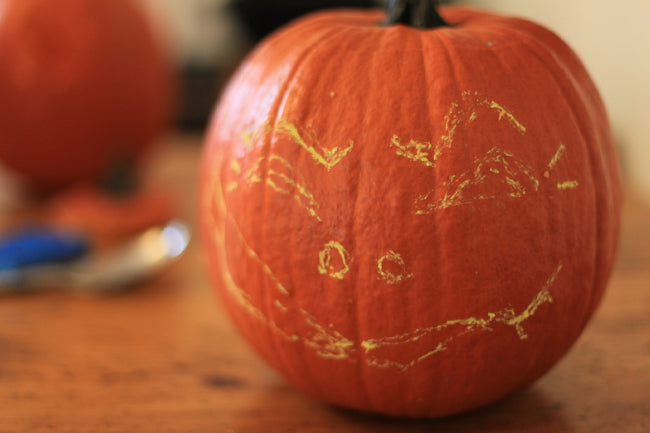
Now comes the creative part, design a face or an image you would like to carve out. If you are not used to carving it might be a good idea to use a simpler design and to work slowly when using the knife.
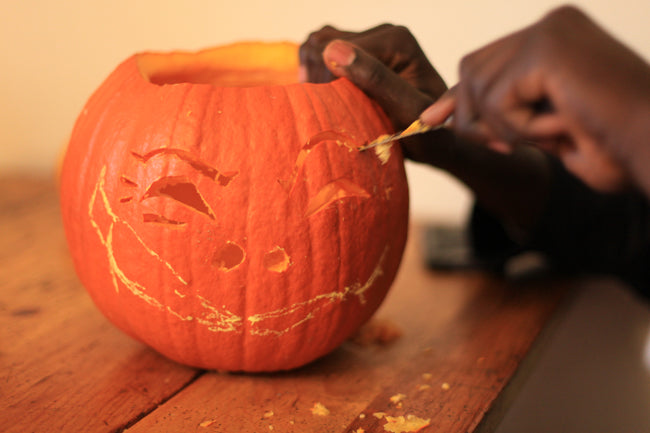
Depending on your skill level and the complexity of your design this can take some time. The more large chunks you take out of the Pumpkin, the less stable it becomes. As you work on your design ,use a torch or a flashlight inside the pumpkin to see how clear your cuts are.
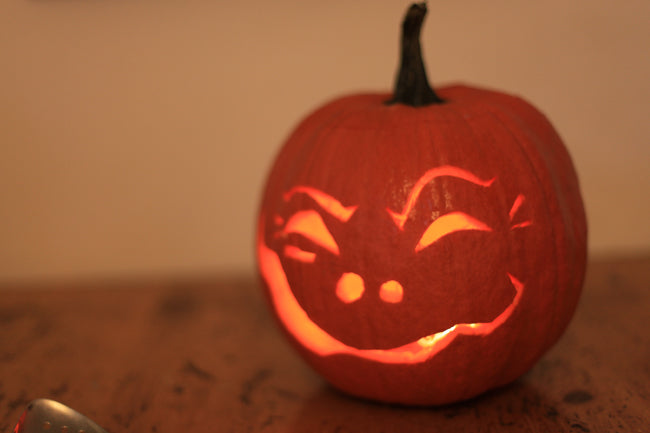
Make sure the base of the inside of the Pumpkin is flat and then add a few tealights to the bottom and replace the lid of the pumpkin.
Happy Halloween!

0 comments